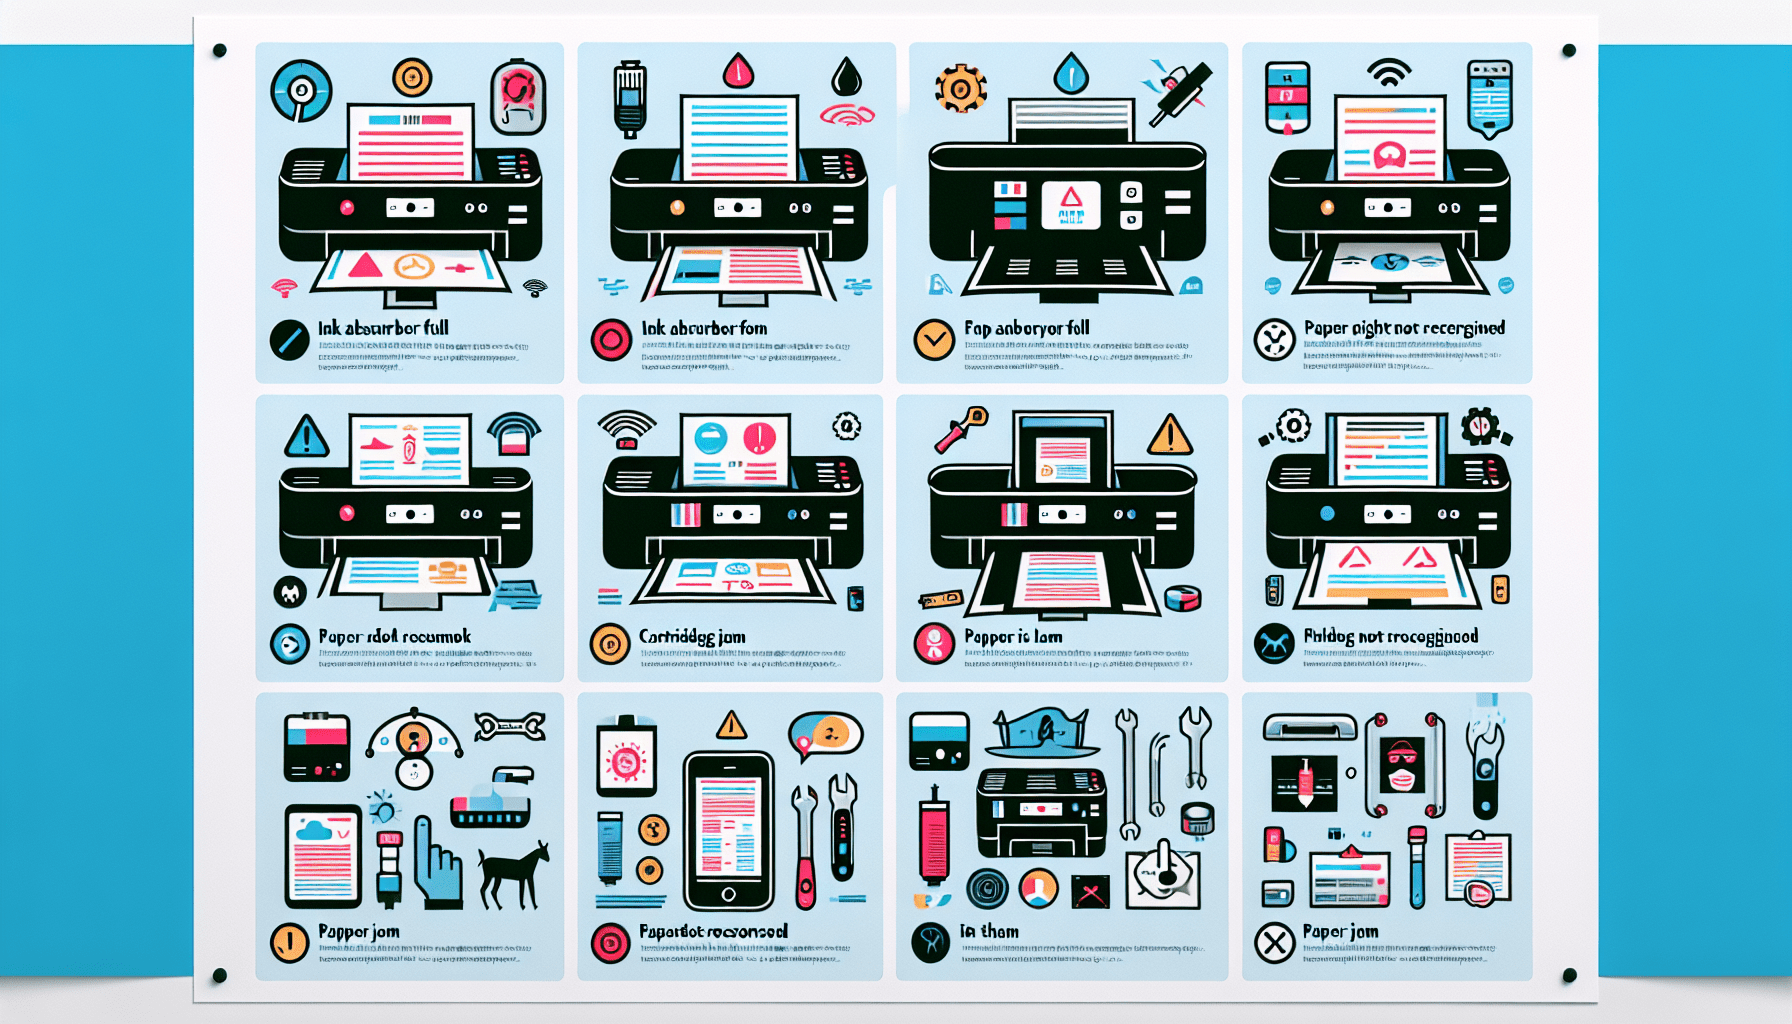
In the world of printing, encountering error messages can be frustrating and time-consuming. This article aims to provide you with a concise and comprehensive guide on ten common Canon printer error messages and how to effectively troubleshoot them. By understanding the underlying causes and following the step-by-step troubleshooting instructions, you will be able to navigate through these issues with ease, ensuring smooth printing operations and optimal performance of your Canon printer.

1. Paper Jam Errors
Clearing the Paper Jam
One of the most common errors encountered with Canon printers is a paper jam. When a paper jam occurs, it can prevent the printer from functioning properly and may even result in damage to the printer if not addressed promptly. To clear a paper jam, start by turning off the printer and carefully opening any access doors or panels. Gently remove any loose paper from the printer, being careful not to tear the paper in the process. If the paper is stuck, avoid pulling it forcefully, as this may cause further damage. Instead, follow the specific instructions provided by Canon for your printer model to safely remove any jammed paper. Once the paper jam has been cleared, close all access doors and panels before turning the printer back on.
Checking the Paper Tray
If you continue to experience paper jam errors after clearing any obstructions, it is important to check the paper tray. Make sure that the paper is placed correctly in the tray and that it is not exceeding the maximum capacity specified by Canon. Improper paper alignment or overfilling the tray can lead to paper jams. Additionally, inspect the paper for any damage, such as torn edges or wrinkled sheets, as these can also cause feed issues and result in paper jams. Always use high-quality paper recommended by Canon to reduce the likelihood of jamming.
Cleaning the Rollers
Printer rollers play a crucial role in guiding the paper through the printer. Over time, these rollers can accumulate dust, debris, and even ink residue, which can lead to paper jam errors. Cleaning the rollers regularly can help prevent such errors. Start by turning off the printer and unplugging it from the power source. Open the printer’s access panel and locate the rollers. Using a lint-free cloth lightly dampened with water or isopropyl alcohol, gently wipe the rollers to remove any debris. Avoid using excessive force or harsh chemicals, as this can damage the rollers. After cleaning, allow the rollers to dry completely before closing the access panel and reconnecting the printer.
2. Ink Cartridge Errors
Ensuring Proper Ink Cartridge Installation
Ink cartridge errors can occur if the cartridges are not properly installed in the printer. To ensure proper installation, begin by turning off the printer and opening the cartridge access door. Carefully remove the existing ink cartridges by gently pushing down on the cartridge and pulling it towards you. It is important to handle the cartridges with care, avoiding any contact with the electrical contacts or print head nozzles. Before installing new cartridges, inspect them for any protective tape or seals that need to be removed. Insert the cartridges firmly into their respective slots, ensuring that they are securely in place. Close the cartridge access door and turn on the printer. If the error persists, try removing and reinstalling the cartridges, ensuring they are properly seated.
Replacing Empty Ink Cartridges
When your printer displays an “empty ink cartridge” error message, it is time to replace the cartridge. Start by turning off the printer and opening the cartridge access door. Remove the empty cartridge by gently pushing down on it and pulling it towards you. Take the new ink cartridge out of its packaging and remove any protective tape or seals. Insert the new cartridge into the appropriate slot, ensuring it is securely in place. Close the cartridge access door and turn on the printer. Canon printers typically include an automatic ink level monitoring feature, which may need to be reset after installing a new cartridge. Follow the instructions provided by Canon to reset the ink level monitoring feature to clear any error messages.
Cleaning the Contacts
Ink cartridge errors may also be caused by dirty or faulty contacts. To clean the electrical contacts, turn off the printer and open the cartridge access door. Carefully remove the ink cartridges, being cautious not to touch the contacts or print head. Using a soft, lint-free cloth lightly dampened with water or isopropyl alcohol, gently wipe the contacts to remove any debris or ink residue. Avoid applying excessive force or using sharp objects, as this can cause damage. Once the contacts are clean, allow them to dry completely before reinstalling the cartridges. If the error persists, try cleaning the contacts again or consider replacing the faulty cartridges.
3. USB Connection Errors
Checking the USB Cable
When encountering USB connection errors, it is important to first check the USB cable connecting the printer to the computer. Ensure that both ends of the cable are securely plugged into the respective ports. Inspect the cable for any visible damage, such as frayed wires or bent connectors, as this can interfere with the connection. If any damage is found, replace the cable with a new one. Additionally, try using a different USB port on the computer to rule out any issues with the current port. Sometimes, a simple cable or port swap can resolve connection errors.
Reconnecting the Printer
If the USB cable appears to be in good condition and properly connected, try reconnecting the printer to establish a fresh connection. Start by turning off both the printer and the computer. Disconnect the USB cable from both ends and wait for a few seconds. Then, reconnect the cable firmly to the printer and computer, ensuring it is securely inserted. Once the connections are established, turn on the printer and the computer. The system should automatically recognize the printer and establish a stable USB connection. If the error persists, try using a different USB cable or consult the Canon support for further assistance.
Updating USB Drivers
Outdated or incompatible USB drivers can cause connection errors with Canon printers. To ensure your USB drivers are up to date, begin by accessing the Device Manager on your computer. In the Device Manager, locate the USB controllers section and expand it. Right-click on the USB driver associated with your Canon printer and select the option to update the driver. Choose the automatic update option, if available, to allow the system to search for and install the latest driver. If automatic updates are not available, you can also visit the manufacturer’s website and manually download the latest driver suitable for your operating system. After updating the driver, restart the computer and test the USB connection with the printer.
4. Print Head Errors
Running the Print Head Cleaning Utility
Print head errors can manifest as blurry or streaked prints. To troubleshoot this issue, Canon printers often come equipped with a print head cleaning utility. This utility allows you to clean the print head, removing any clogs or blockages that may be affecting print quality. Start by accessing the printer’s settings or utility menu, which can usually be found in the printer software or control panel. Look for an option or tab related to print head maintenance or cleaning. Follow the on-screen instructions to initiate the cleaning process. It is important to note that excessive use of the print head cleaning utility may deplete ink from the cartridges, so use it sparingly and follow the recommended guidelines from Canon.
Aligning the Print Head
Even if the print head appears to be working properly, misalignment can still result in poor print quality. Canon printers often provide an automatic print head alignment feature that can help address alignment issues. To align the print head, access the printer’s settings or utility menu as before and look for an option related to print head alignment. Follow the on-screen prompts to initiate the alignment process. Make sure to load plain white paper in the printer’s input tray to ensure accurate alignment. Once the alignment is complete, test print quality to see if the error has been resolved. If not, you may need to repeat the alignment process or consider replacing the print head.
Replacing the Print Head
If print head errors persist even after cleaning and alignment attempts, it may be necessary to replace the print head. Print heads can degrade over time or become irreparable if clogged or damaged. Canon printers typically have replaceable print heads, but the process can vary depending on the model. Consult the printer’s user manual or Canon’s support resources for specific instructions on how to replace the print head. It is important to use genuine Canon print heads to ensure compatibility and maintain optimal print quality. Follow the manufacturer’s guidelines for proper installation and calibration of the new print head.
5. Network Connection Errors
Restarting the Router and Printer
Network connection errors can often be resolved by simply restarting the router and printer. Start by turning off both the router and the printer. Wait for a few seconds, then turn on the router and allow it to fully establish a connection. Once the router is operational, turn on the printer and wait for it to connect to the network. It may take a few moments for the printer to establish a stable connection. After the connection is established, attempt to print a test page or document to verify that the network connection error has been resolved. If the error persists, proceed to the next troubleshooting step.
Checking the Network Settings
Incorrect network settings can prevent the printer from connecting to the network. To verify that the printer’s network settings are correctly configured, access the printer’s settings or utility menu. Look for a section or tab related to network or wireless settings. Ensure that the printer is connected to the correct Wi-Fi network, and that the network password is entered correctly. If necessary, select the option to reconnect the printer to the network and follow any on-screen prompts. It may be helpful to consult the printer’s user manual or Canon’s support resources for detailed instructions on configuring the network settings specific to your printer model.
Reinstalling the Printer Software
If network connection errors persist, reinstalling the printer software can help resolve any software-related issues. Start by uninstalling the existing printer software from your computer. Access the Control Panel or settings menu on your computer and locate the list of installed programs. Find the Canon printer software in the list and select the option to uninstall or remove it. Follow the on-screen prompts to complete the uninstallation process. Once the software is uninstalled, restart your computer and visit the Canon website to download the latest version of the printer software suitable for your operating system. Install the software according to the provided instructions and follow any additional prompts to configure the network settings. After reinstalling the software, test the network connection by printing a test page or document.
6. Firmware Errors
Updating the Firmware
Firmware errors can occur if the printer’s firmware is outdated or corrupt. Firmware is essentially the software that runs the internal processes of the printer. Canon periodically releases firmware updates to address bugs, enhance performance, and add new features. To update the firmware, start by visiting the Canon website and navigating to the support or downloads section. Locate the firmware update for your specific printer model and download it to your computer. Follow the provided instructions or readme file to install the firmware update on your printer. It is important to note that firmware updates should be performed carefully and according to the manufacturer’s instructions to avoid any potential damage.
Resetting the Printer
In some cases, resetting the printer to its default settings can help resolve firmware errors. Resetting the printer essentially clears any temporary configurations or settings that may be causing the error. To reset the printer, start by turning it off and disconnecting the power cable from the power source. Wait for a few moments to ensure that any residual power is discharged. Reconnect the power cable and turn on the printer while holding down the appropriate reset button or combination of buttons, as specified by your printer’s manual. Keep holding the reset buttons until the printer’s indicator lights flash or until a reset message appears on the printer’s display. Release the buttons and allow the printer to restart. After resetting, reconfigure any necessary settings and test the printer for firmware-related errors.
Contacting Canon Support
If firmware errors persist or if you encounter any difficulties during the update or reset process, it is advisable to contact Canon Support for further assistance. Canon’s support team can provide guidance, troubleshooting steps, or additional resources to help resolve the error. When contacting support, be prepared to provide specific details about the error message, the printer model, and any troubleshooting steps you have already taken. This information will assist the support team in diagnosing the problem more efficiently and offering the most appropriate solution.
7. Queue Errors
Clearing the Print Queue
When encountering queue errors, it is essential to clear the print queue to ensure a fresh start. This can help resolve issues such as stuck or cancelled print jobs. Begin by opening the Print Spooler settings on your computer. Depending on your operating system, this can typically be found in the Control Panel or System Preferences. Locate the printer in question and right-click on it, then select the option to view the print queue. Delete any pending print jobs from the queue by right-clicking on them and selecting the option to cancel or delete. Once the queue is empty, close the print queue window and proceed to the next troubleshooting step if the error persists.
Restarting the Print Spooler Service
The Print Spooler service manages the print queue and is responsible for communicating with the printer. Restarting this service can help resolve queue errors. To restart the Print Spooler service, open the Services management console on your computer. This can typically be accessed by searching for “Services” in the Start menu or Control Panel. Locate the Print Spooler service in the list and right-click on it, then select the option to restart. Wait for the service to restart, and then close the Services management console. Once the Print Spooler service is restarted, try printing a test page or document to see if the error has been resolved.
Updating Printer Drivers
Outdated or incompatible printer drivers can cause queue errors or prevent print jobs from being processed. To ensure your printer drivers are up to date, visit the Canon website and navigate to the support or downloads section. Locate the latest printer driver for your specific printer model and download it to your computer. Follow the provided instructions to install the driver. It is recommended to perform a clean installation by uninstalling the existing printer drivers before installing the updated version. After installing the updated drivers, restart your computer and test the print queue to verify if the error has been resolved.
8. Scanner Errors
Checking Scanner Connections
If you encounter scanner errors, checking the connections is the first step in troubleshooting. Start by verifying that the scanner is properly connected to your computer. Check the USB cable or any other connection cables to ensure they are securely plugged into their respective ports on the scanner and the computer. Inspect the cables for any visible damage, such as frayed wires or bent connectors. If any damage is found, replace the cables with new ones. Additionally, try using a different USB port on the computer to rule out any issues with the current port. Once the connections are verified, proceed to the next troubleshooting step if the error persists.
Resetting the Scanner
Sometimes, resetting the scanner to its default settings can help resolve scanner errors. Resetting the scanner clears any temporary configurations or settings that may be causing the error. To perform a reset, start by turning off the scanner and disconnecting the power cable. Wait for a few moments to ensure that any residual power is discharged. Reconnect the power cable and turn on the scanner. Consult the scanner’s user manual or Canon’s support resources for specific instructions on how to perform a reset for your particular scanner model. After resetting the scanner, test the scanner software or try scanning a document to see if the error has been resolved.
Reinstalling Scanner Software
If scanner errors continue to persist, reinstalling the scanner software can help resolve any software-related issues. Begin by uninstalling the existing scanner software from your computer. Access the Control Panel or settings menu on your computer and locate the list of installed programs. Find the Canon scanner software in the list and select the option to uninstall or remove it. Follow the on-screen prompts to complete the uninstallation process. Once the software is uninstalled, restart your computer and visit the Canon website to download the latest version of the scanner software suitable for your operating system. Install the software according to the provided instructions. Make sure to follow any additional prompts or steps to properly configure the scanner software. After reinstalling the software, test the scanner to check if the error has been resolved.
9. Error Codes
Interpreting Error Codes
When faced with error codes displayed on your Canon printer, it is crucial to understand their meaning to effectively troubleshoot the issue. Error codes are alphanumeric combinations that indicate specific problems related to the printer’s hardware or software. Canon printers often provide error code explanations in the user manual or on their website. Consult these resources to find a comprehensive list of error codes for your specific printer model. Once you have identified the error code, refer to the provided explanation to understand the nature of the problem. This will help you determine the most appropriate troubleshooting steps to resolve the error.
Researching Error Codes
In some cases, error codes may not be readily accessible in the user manual or on the Canon website. When encountered with an unfamiliar error code, it is advisable to research and gather information from reliable sources. Online forums, technical support websites, and communities dedicated to Canon printers can be valuable resources for researching error codes. Post the specific error code and a brief description of the issue to seek assistance from individuals who may have encountered similar problems. Also, check for any official Canon support articles related to the error code in question. Gathering as much information as possible will empower you to troubleshoot effectively and resolve the error.
Resetting Error Codes
Resetting error codes is often a recommended step in troubleshooting Canon printer issues. Error codes can sometimes be triggered by temporary glitches or failures that do not require extensive repairs. To reset error codes, start by turning off the printer and disconnecting the power cable. Wait for several minutes to ensure that any residual power is discharged. Reconnect the power cable and turn on the printer. Refer to the user manual or Canon’s support resources for specific instructions on how to reset error codes for your particular printer model. After resetting the error code, test the printer to verify if the error has been resolved. If the error persists, consider seeking professional assistance or contacting Canon support for further guidance.
10. Power Supply Errors
Checking Power Cables and Connections
Power supply errors can occur if there are issues with the power cables or connections. Start by verifying that the printer’s power cable is securely connected to both the printer and a reliable power source. Ensure that there are no loose connections or frayed wires. If the power cable appears damaged or faulty, replace it with a new one. Additionally, check the power outlet or surge protector being used for any signs of damage or electrical issues. Consider plugging the printer directly into a different power outlet to rule out any issues with the current outlet or surge protector. Always ensure that the printer is plugged into a stable power source to prevent power supply errors.
Restarting the Printer
Sometimes, a simple restart can resolve power supply errors. Turn off the printer and disconnect the power cable from both the printer and the power source. Wait for several seconds, then reconnect the power cable and turn on the printer. This action allows the printer to establish a fresh power connection and can often clear temporary power-related issues. If the error persists, proceed to the next troubleshooting step.
Using an External Power Supply
If power supply errors continue to occur, using an external power supply may be a viable solution. Some Canon printers support external power adapters, which can provide a more stable power source. This can be especially useful if the printer is connected to a power strip or an unreliable electrical system. Consult the printer’s user manual or Canon’s support resources to determine if your printer model supports an external power supply. If it does, follow the instructions provided by Canon to connect and use the external power supply. This alternative power source can help eliminate power supply errors and ensure a consistent flow of electricity to the printer.
In conclusion, troubleshooting Canon printer error messages requires a systematic approach. By understanding the common errors and their respective solutions, you can effectively address issues related to paper jams, ink cartridges, USB connections, print heads, network connections, firmware, print queues, scanners, error codes, and power supply. Remember to follow the specific instructions provided by Canon for your printer model and consult their support resources when needed. By employing these troubleshooting techniques, you can keep your Canon printer running smoothly and efficiently. If you encounter persistent errors or complications, do not hesitate to seek professional assistance.