In the world of computer troubleshooting, encountering motherboard error codes can be a perplexing and frustrating experience. From cryptic numbers and letters to baffling combinations of beeps and flashing lights, deciphering these codes can seem like deciphering an ancient language. Thankfully, this guide is here to provide you with a comprehensive understanding of motherboard error codes and to equip you with the skills needed to effectively resolve them. By demystifying these enigmatic codes, you will gain the confidence and knowledge necessary to successfully troubleshoot and fix issues related to your computer’s motherboard. So, let’s begin our journey into the world of resolving motherboard error codes, and empower you to overcome any technological challenge that may come your way.

Understanding Motherboard Error Codes
What are motherboard error codes?
Motherboard error codes are numeric or alphanumeric codes that are displayed during the boot process to indicate the specific issue that the motherboard is encountering. These error codes help in diagnosing and troubleshooting potential hardware or software problems. They provide valuable information about the nature and cause of the error, enabling users to take appropriate actions to resolve the issue.
Why do error codes appear?
Error codes on motherboards can appear due to a variety of reasons. Some common causes include faulty hardware components, improperly connected or incompatible hardware, outdated BIOS or device drivers, overclocking issues, power supply problems, or even software conflicts. Motherboard error codes are generated by the system’s BIOS or firmware during the boot process to indicate where the problem lies.
Common types of motherboard error codes
There are numerous motherboard error codes that can be encountered, each indicating a specific problem. These error codes can vary depending on the motherboard manufacturer and model. However, some common types of motherboard error codes include:
POST error codes:
These codes are displayed during the Power-On Self-Test (POST) process, which is the initial diagnostic check performed by the BIOS. They provide information about specific hardware failures or detection issues.
RAM error codes:
RAM-related error codes indicate issues with the system’s memory modules. These codes can help identify faulty memory sticks or problems with memory module compatibility, configuration, or seating.
CPU error codes:
CPU error codes indicate problems with the system’s central processing unit. These codes can indicate issues such as an improperly installed or incompatible CPU, overheating, or incorrect BIOS settings related to the CPU.
Graphics card error codes:
Graphics card error codes are displayed when there are problems with the graphics card or its drivers. These codes can point to issues like incompatible or faulty graphics card drivers, incorrect graphics card installation, or problems with the graphics card’s hardware.
System fan error codes:
These error codes indicate issues with the system’s cooling fans. They can help identify problems such as malfunctioning fans, inadequate cooling, or fan speed control failures.
Boot device error codes:
Boot device error codes appear when there are problems with the system’s storage devices. These codes can indicate issues like faulty hard drives or solid-state drives, incorrect boot device configurations, or problems with boot sector initialization.
Troubleshooting Motherboard Error Codes
Check the error code display
When encountering a motherboard error code, the first step is to check the error code display. Most modern motherboards feature LED displays that provide real-time error codes. These displays are usually located near the motherboard’s CPU socket or along the edge of the board. By referencing the manual or the manufacturer’s website, you can decipher the error code and proceed with the necessary troubleshooting steps.
Refer to the motherboard manual
The next step in troubleshooting motherboard error codes is to consult the motherboard manual. The manual typically contains a section dedicated to error codes, providing detailed explanations for each code and possible solutions. It is essential to familiarize yourself with the error code section of the manual to effectively troubleshoot and resolve any issues.
Identify and resolve common error codes
Common error codes encountered on motherboards can have straightforward solutions. Some of the most common error codes include RAM-related issues, CPU errors, and graphics card problems. By following the manufacturer’s recommended troubleshooting steps, such as reseating memory modules or checking CPU connections, you can often resolve these issues. It is crucial to approach each error code systematically and follow the correct troubleshooting path.

Resolving Specific Motherboard Error Codes
Error code 0x00 – BIOS ROM checksum error
Error code 0x00 typically indicates a BIOS ROM checksum error. This error occurs when the checksum value, used to validate the integrity of the BIOS code, does not match the expected value. To resolve this error, you should first try resetting the CMOS (Complementary Metal-Oxide-Semiconductor) by following the steps outlined in the subsequent section. If the issue persists, updating the BIOS to the latest version may solve the problem. Refer to the motherboard manufacturer’s website or manual for detailed instructions on updating the BIOS.
Error code 0x0A – Motherboard initialization error
Error code 0x0A signifies a motherboard initialization error. This error suggests that the motherboard is encountering difficulties during its initialization process. To address this error, check all hardware connections, including power cables, data cables, and expansion cards. Ensure that all components are firmly seated in their respective slots. If the problem persists, try resetting the CMOS. If neither of these steps resolves the issue, it may be necessary to seek professional assistance or contact the motherboard manufacturer for further guidance.
Error code 0x19 – CPU initialization error
Error code 0x19 indicates a CPU initialization error. This error occurs when there are problems with the CPU, such as an incorrectly installed or incompatible CPU, overheating, or incorrect BIOS settings related to the CPU. To troubleshoot this error, double-check the CPU installation and ensure that it is properly seated in the socket. Verify that your CPU is compatible with the motherboard and that it is not overheating due to inadequate cooling. If the issue persists, consult the motherboard manual or contact the manufacturer for further assistance.
Updating BIOS to Resolve Error Codes
Understanding the importance of BIOS updates
Updating the BIOS (Basic Input/Output System) is essential for resolving motherboard error codes and ensuring optimal system performance. BIOS updates often address known issues and bugs, improve hardware compatibility, and introduce new features or enhancements. By keeping your BIOS up to date, you can mitigate potential error code occurrences and improve overall system stability.
Steps to update the BIOS
Before updating the BIOS, it is crucial to ensure you have the correct BIOS update file for your specific motherboard model. Visit the motherboard manufacturer’s website and locate the appropriate BIOS update file. Carefully read and follow the instructions provided by the manufacturer, as the BIOS update process can vary. Generally, the steps involve creating a bootable USB drive, restarting the system, entering the BIOS menu, and initiating the update process. It is crucial to avoid interrupting the update process or turning off the system abruptly, as this can result in severe damage to the motherboard.
Best practices for updating BIOS
When updating the BIOS, it is essential to adhere to best practices to minimize potential risks. Here are some key considerations:
-
Ensure the system is adequately powered: Low battery or unstable power supply can pose risks during the BIOS update process. Ensure that your system is connected to a reliable power source to avoid any interruptions.
-
Follow the manufacturer’s instructions: Each motherboard may have specific instructions for BIOS updates. carefully read and follow the instructions provided by the manufacturer to ensure a successful update.
-
Create a backup: Before updating the BIOS, create a backup of any critical data stored on your system. In case something goes wrong during the update process, you can restore your data without loss.
-
Verify stability and compatibility: Before updating the BIOS, ensure that the new version is stable and compatible with your hardware components. Check the manufacturer’s release notes or online forums to see if any issues have been reported with the new BIOS version.
By following these best practices, you can reduce the risk of encountering errors during the BIOS update process and ensure a smooth transition to the latest version.

Resetting the CMOS to Fix Error Codes
What is CMOS?
CMOS (Complementary Metal-Oxide-Semiconductor) is a small, battery-powered chip on the motherboard that stores the system’s BIOS settings. It retains this information even when the system is powered off. Resetting the CMOS involves clearing the data stored in this chip and reverting the BIOS settings to their default values. Resetting the CMOS can resolve various issues, including error codes, by restoring the system to a known working state.
Signs that the CMOS needs to be reset
Several signs indicate that resetting the CMOS may be necessary:
- Continuous or repeated error codes during system startup.
- Inability to access the BIOS menu or make changes to BIOS settings.
- Unstable system behavior, including frequent crashes or freezes.
- Incorrect system date and time, even after setting them correctly multiple times.
If you encounter any of these signs, attempting to reset the CMOS may be a useful troubleshooting step.
Steps to reset the CMOS
To reset the CMOS, follow these steps:
- Power off the system and unplug it from the power source.
- Locate the CMOS battery on the motherboard. It is a small, round, silver-colored battery.
- Gently remove the CMOS battery from its slot. Use caution not to damage any components.
- Wait for approximately 5 minutes to allow any remaining charges to dissipate.
- Reinsert the CMOS battery firmly into its slot, taking care to align the positive and negative terminals correctly.
- Reconnect the power source and power on the system.
- Access the BIOS menu and set the desired settings.
- Save the changes and restart the system.
By following these steps, you can reset the CMOS and potentially resolve motherboard error codes caused by corrupted BIOS settings or other CMOS-related issues.
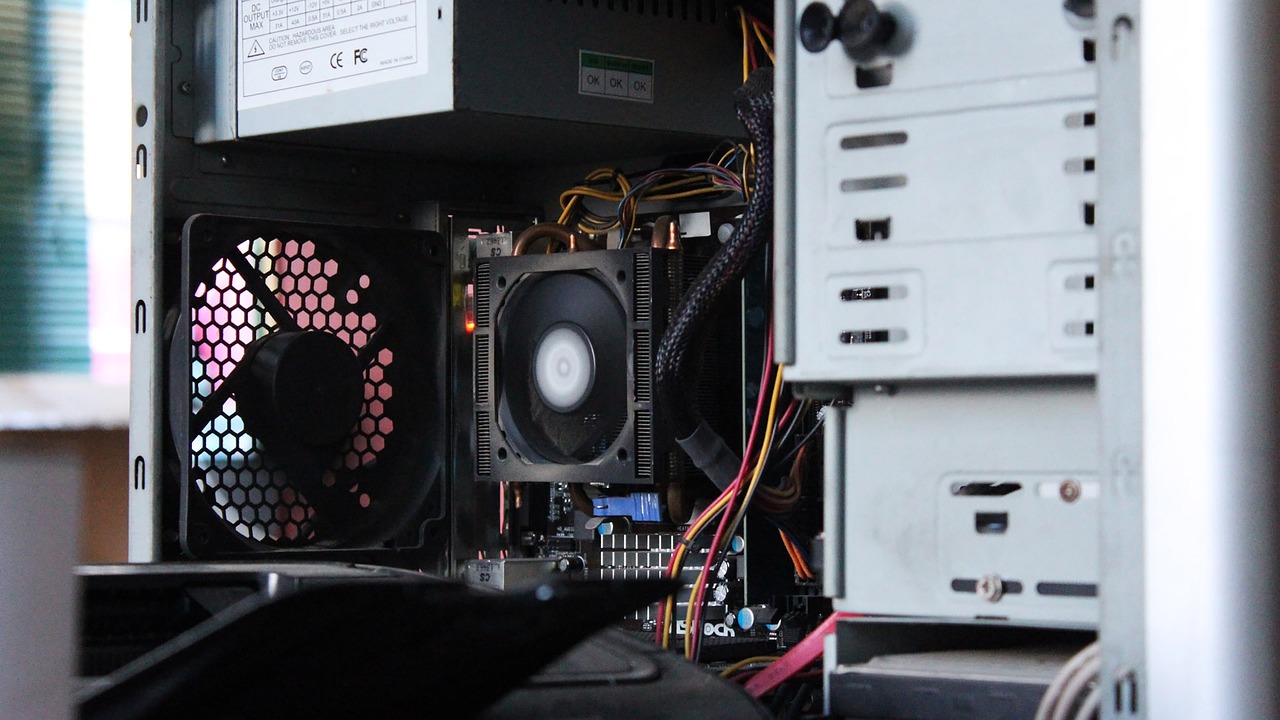
Checking and Resetting Hardware Connections
Inspecting cables and connections
Loose or improperly connected cables can lead to various errors, including motherboard error codes. It is essential to inspect all cables connected to the motherboard, such as power cables, data cables, and peripheral cables. Ensure that these cables are securely plugged into their respective ports and are not damaged or frayed. Reseating the cables can help establish proper connections and resolve any error codes caused by loose or faulty connections.
Reseating components and peripherals
In addition to checking cables, it is also crucial to reseat hardware components and peripherals. Over time, components can become loose due to vibrations or natural movements of the system. Remove and reinsert components such as memory modules, expansion cards, and the CPU (if necessary) to ensure they are properly seated in their respective slots. Similarly, disconnect and reconnect peripherals such as graphics cards, storage devices, and input/output devices to ensure a secure connection. Reseating hardware components and peripherals can help resolve error codes caused by poor connections or loose contacts.
Testing with alternative hardware
If the previous steps do not resolve the motherboard error codes, it may be necessary to test with alternative hardware. Faulty or incompatible hardware components can trigger error codes and disrupt system functionality. By substituting suspected hardware with known-good alternatives, such as using a different graphics card or memory module, you can identify whether a particular component is responsible for the error. This process of elimination can help pinpoint and resolve the underlying issue causing the error codes.
Dealing with Overheating and Power Issues
Monitoring the system temperature
Overheating can cause various issues, including motherboard error codes. Excessive heat can damage sensitive components and compromise system stability. It is crucial to monitor the system temperature regularly. Many motherboard manufacturers provide software utilities or BIOS features that allow users to monitor the temperature of key components like the CPU and GPU. If temperature-related error codes are encountered, consider improved cooling solutions such as upgrading the CPU cooler, cleaning the system’s fans, or improving the overall system airflow.
Identifying and fixing power supply issues
A stable and reliable power supply is vital for proper motherboard functionality. Inadequate power supply or power fluctuations can trigger error codes and disrupt system operation. To identify power-related issues, monitor the voltage levels using specialized hardware or software tools. If voltage irregularities are detected, consider replacing the power supply with a higher-quality unit that can adequately handle the system’s power demands. Additionally, ensure that all power cables are securely connected and not damaged.
Addressing cooling problems
Proper cooling is essential for maintaining optimal system temperatures and preventing overheating-related error codes. Ensure that all cooling fans are functioning correctly and are free from dust or debris that can impede airflow. Consider installing additional case fans or upgrading existing ones for better airflow. Proper cable management can also improve cooling by allowing unobstructed airflow through the system. If necessary, upgrade the CPU cooler or consider liquid cooling solutions, especially for high-performance systems. Addressing cooling problems proactively can help prevent overheating and mitigate potential motherboard error codes.
Updating Device Drivers
The role of device drivers
Device drivers play a crucial role in facilitating communication between the operating system and hardware components. Outdated or incompatible device drivers can cause various issues, including motherboard error codes. It is essential to keep device drivers up to date, ensuring compatibility, stability, and optimal performance. By updating device drivers, you can address known issues, fix bugs, and improve the overall system functionality.
How to update device drivers
To update device drivers, you can follow these general steps:
- Identify the hardware components requiring driver updates.
- Visit the manufacturer’s website for each component and locate the latest driver version.
- Download the appropriate driver files for your operating system.
- Run the driver installer and follow the on-screen prompts to update the drivers.
- Restart the system after completing the driver updates.
For convenience, many hardware manufacturers provide software utilities that can automatically scan for outdated drivers and download the necessary updates. These utilities can simplify the driver update process and ensure that you have the latest versions installed.
Common issues with device drivers
While updating device drivers can resolve many issues, it is essential to be aware of potential complications. Common issues that can arise include driver conflicts, compatibility problems, or driver installation failures. To mitigate these issues, it is recommended to create a system restore point before updating device drivers. This allows you to roll back changes in case unexpected problems occur. Additionally, always download drivers from trusted sources, such as the manufacturer’s official website, to ensure the authenticity and reliability of the driver files.
Seeking Professional Assistance
When to consider professional help
In some cases, motherboard error codes can be complex and require professional assistance. Consider seeking professional help in the following situations:
- When you are unable to identify the cause of the error code or troubleshoot the issue effectively.
- When the error codes persist despite following the recommended troubleshooting steps.
- When the error codes indicate severe hardware damage or failures that require specialized knowledge or equipment to fix.
By consulting with professionals, such as computer repair technicians or the motherboard manufacturer’s support team, you can benefit from their expertise and experience in resolving complex motherboard issues. Professional help can save time, prevent further damage, and ensure the problem is diagnosed and fixed correctly.
Choosing a reliable repair service
When seeking professional assistance for motherboard error codes, it is crucial to choose a reliable repair service. Consider the following factors:
- Reputation and experience: Look for repair services with a good reputation and extensive experience in handling motherboard issues.
- Certifications and expertise: Verify the qualifications and certifications of the technicians to ensure they possess the necessary skills and knowledge.
- Warranty and guarantees: Inquire about the warranties or guarantees provided by the repair service to ensure that you are protected in case of any issues.
- Reviews and testimonials: Read reviews and testimonials from previous customers to gauge the quality of service provided by the repair service.
- Cost considerations: Compare the cost of repair services and ensure they offer reasonable pricing without compromising on the quality of service.
By carefully selecting a reliable repair service, you can have peace of mind knowing that your motherboard issues will be resolved efficiently and effectively.
Cost considerations
The cost of resolving motherboard error codes can vary depending on several factors. These factors include the complexity of the issue, the need for replacement parts, the expertise required, and the repair service’s pricing structure. It is recommended to inquire about the cost of the repairs upfront and evaluate the pricing against the quality of service offered. While cost is an important factor, it is crucial not to compromise on the expertise and integrity of the repairs. Balancing cost considerations with the need for reliable service ensures that the issue is resolved effectively without incurring unnecessary expenses.
Preventive Measures to Avoid Motherboard Error Codes
Performing regular maintenance
Regular maintenance can help prevent motherboard errors and ensure the long-term reliability of your system. Some key maintenance tasks include:
- Cleaning the system regularly to remove dust and debris that can hamper cooling.
- Updating BIOS and device drivers to the latest versions.
- Running antivirus and malware scans to ensure the system remains free from harmful software.
- Checking for and applying operating system updates and patches.
- Monitoring system temperatures and taking appropriate cooling measures if necessary.
- Performing regular backups of important data to prevent loss in case of system failures.
By incorporating regular maintenance practices into your routine, you can minimize the risk of encountering motherboard error codes and maintain a stable, efficient system.
Using surge protectors
Sudden power surges or fluctuations can cause severe damage to your motherboard and other components. To protect your system, always use surge protectors or uninterruptible power supply (UPS) units. Surge protectors absorb excess voltage and protect your valuable equipment from damage. Investing in quality surge protection is a small but critical step in safeguarding your motherboard and other sensitive components against power-related issues.
Avoiding physical damage
Physical damage can cause motherboard errors, rendering your system inoperable. To avoid physical damage, follow these precautions:
- Handle your system and components with care.
- Use proper grounding techniques to prevent the buildup of static electricity.
- Avoid placing heavy objects on your computer case or motherboard.
- Ensure there is adequate airflow around the system to prevent overheating.
- Keep liquids away from your system to prevent accidental spills.
By taking these simple preventive measures, you can avoid unnecessary damage and ensure the reliability and longevity of your motherboard.
In conclusion, understanding motherboard error codes is crucial for effective troubleshooting and resolving issues that may arise during system boot-up. By familiarizing yourself with common error codes and their potential causes, you can take proactive steps to address them. From checking error code displays to updating the BIOS and device drivers, various troubleshooting techniques can help resolve motherboard errors. Additionally, implementing preventive measures such as regular maintenance, surge protection, and careful handling can minimize the occurrence of error codes and ensure the optimal performance of your system.