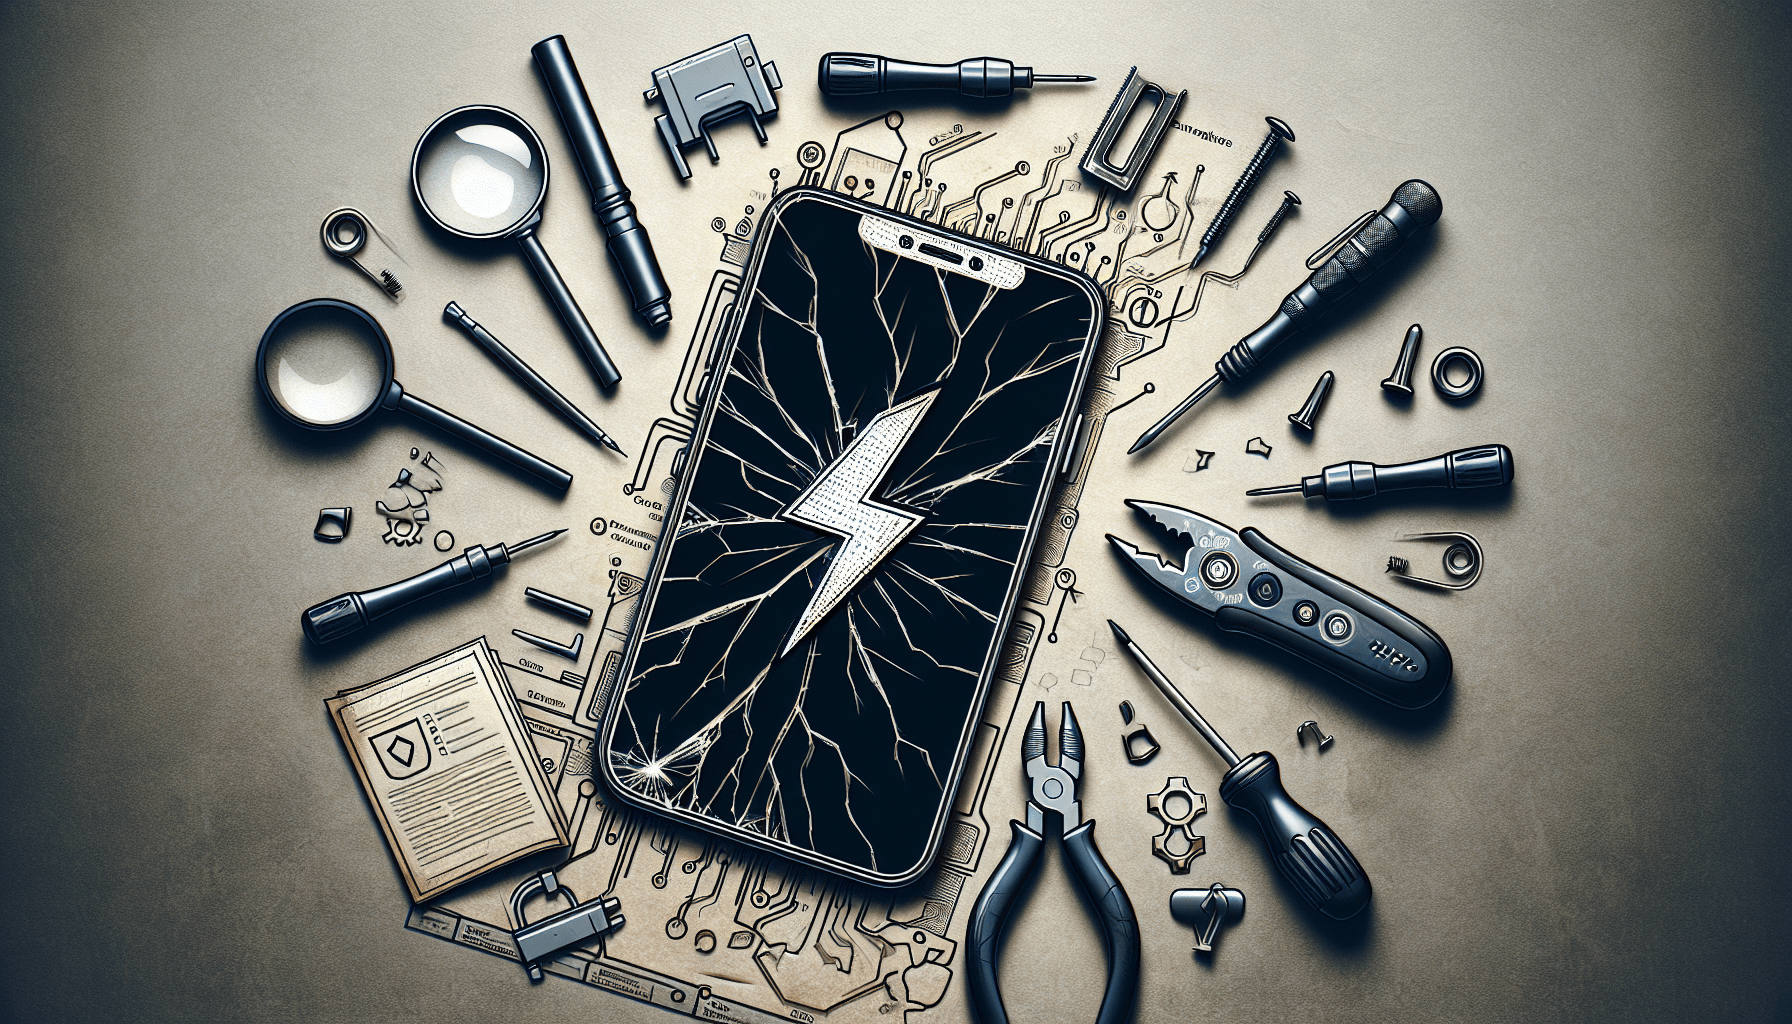
In the world of iOS development, encountering error messages is an inevitable part of the job. Whether you’re a seasoned developer or just starting out, understanding and resolving these common error messages can save you time and frustration. This article aims to provide a comprehensive overview of some of the most frequently encountered iOS error messages and their corresponding solutions. By familiarizing yourself with these error messages and their fixes, you’ll be well-equipped to troubleshoot and overcome any obstacles that may arise during your iOS development journey.
Common iOS Error Messages
When using an iOS device, such as an iPhone or iPad, you may encounter various error messages that can be frustrating and hinder your user experience. Understanding these error messages and knowing how to fix them can help you resolve issues quickly and get back to using your device smoothly. In this article, we will discuss some of the most common iOS error messages and provide you with step-by-step solutions to resolve them.

Error 401: Unauthorized
Error 401 typically occurs when you try to access a restricted area or perform an action for which you do not have the necessary permissions. This error message indicates that your request lacks valid authentication credentials.
To fix Error 401, you can try the following steps:
- Check your internet connection: Ensure that you have a stable internet connection and try accessing the content again.
- Re-enter correct login credentials: Double-check your username and password to ensure they are entered correctly. Also, consider updating your password if necessary.
- Update the app or iOS version: Outdated versions of applications or the iOS operating system can sometimes lead to authentication issues. Check for app or system updates and install them if available.
- Contact the app developer: If the error persists, reach out to the app developer for further assistance. They may be able to provide specific troubleshooting steps or help you resolve the authentication problem.
Error 404: Not Found
Error 404 is a common error message that indicates the requested resource or webpage could not be found. This error can occur when accessing a website or when using an app that requires data from a server.
To fix Error 404, you can try the following steps:
- Check the URL or app connection: Make sure the URL you are trying to access is correct or that the app is properly connected to the server. Typos or incorrect URLs can trigger this error message.
- Refresh the page or try again later: Sometimes, the error may be temporary, and simply refreshing the page or trying again later can resolve the problem.
- Clear app cache and data: If the error occurs within an app, clearing the app’s cache and data might help. Refer to the app’s settings or documentation for instructions on how to clear cache and data.
- Contact the app or website administrator: If the error persists, reach out to the app or website administrator for assistance. They may be able to troubleshoot the server-side issue or provide guidance on resolving the error.
Error 500: Internal Server Error
Error 500 is an internal server error that occurs when the server encounters an unexpected condition and cannot fulfill the request. This error message is often accompanied by a generic server error description.
To fix Error 500, you can try the following steps:
- Refresh the page or try again later: Similar to Error 404, the server error may be temporary. Refresh the page or try again later to see if the problem resolves itself.
- Clear app cache and data: Clearing the app’s cache and data can help resolve any temporary issues within the app. Consult the app’s settings or documentation for instructions on how to clear cache and data.
- Contact the app or website administrator: If the error persists, reach out to the app or website administrator for assistance. They can investigate the server-side issue or provide further guidance on resolving the error.
- Ensure server is not overloaded: Server overload can also lead to Error 500. If the website or app you are trying to access is experiencing high traffic, wait for some time and try again when the server load is lower.

Error 503: Service Unavailable
Error 503 indicates that the server is currently unable to handle the request due to temporary overload or maintenance. It is a server-side error message that often occurs during peak usage periods or when the server is undergoing maintenance.
To fix Error 503, you can try the following steps:
- Refresh the page or try again later: As with previous errors, the issue could be temporary. Wait for some time, refresh the page, or try accessing the service later to see if the problem is resolved.
- Clear app cache and data: Clearing the app’s cache and data might help, especially if the error occurs within an app. Refer to the app’s settings or documentation for instructions on clearing cache and data.
- Contact the app or website administrator: If the error persists, reach out to the app or website administrator for further assistance. They can confirm if the service is undergoing maintenance or investigate any other server-related issues.
- Ensure server is not undergoing maintenance: Confirm from reliable sources if the server or service you are trying to access is undergoing maintenance. If so, patiently wait until the maintenance is complete before accessing the service again.
Error 1009: Cannot Connect to App Store
Error 1009 occurs when your iOS device is unable to connect to the App Store. It can be caused by various factors, such as network issues or restrictions imposed by Apple.
To fix Error 1009, you can try the following steps:
- Check your internet connection: Ensure that you have a stable internet connection. Switch between Wi-Fi and cellular data to see if one works better.
- Restart your device: Restarting your device can refresh network settings and resolve temporary connectivity issues.
- Sign out and sign back in to your Apple ID: In the Settings app, navigate to “iTunes & App Store,” tap on your Apple ID, and select “Sign Out.” Then, sign back in with your Apple ID credentials.
- Reset network settings: If the previous steps don’t work, try resetting your network settings. Go to the Settings app, select “General,” then “Reset,” and choose “Reset Network Settings.” Note that this will remove all saved Wi-Fi networks and passwords.
Error 3194: Firmware File is Not Compatible
Error 3194 typically occurs when you try to update or restore your iOS device using iTunes, and the firmware file you are attempting to use is not compatible with your device.
To fix Error 3194, you can try the following steps:
- Ensure you have the latest version of iTunes: Make sure you are using the latest version of iTunes on your computer. Older versions might not support the firmware file you are trying to use.
- Check your device’s compatibility with the firmware file: Ensure that the firmware file you are using is intended for your specific device model. Using an incompatible firmware file can trigger Error 3194.
- Edit the host file on your computer: Modify the host file on your computer to allow iTunes to communicate with Apple’s servers properly. Instructions for editing the host file can be found on Apple’s support website.
- Use a different computer to update or restore: If the above steps don’t resolve the issue, try using a different computer to perform the update or restore process. This can help rule out any computer-specific issues.
Error 53: Touch ID Failed
Error 53 typically occurs on iOS devices with Touch ID functionality when there is a problem with the fingerprint recognition system. It can be triggered by hardware or software issues related to the Touch ID sensor.
To fix Error 53, you can try the following steps:
- Ensure your home button and connector are clean: Clean the home button and the connector with a soft, lint-free cloth. Dirt or debris on these components can affect Touch ID functionality.
- Update to the latest iOS version: Keeping your iOS device up to date with the latest software can often resolve compatibility issues and improve Touch ID performance.
- Contact an Apple Authorized Service Provider: If the error persists, it may indicate a hardware problem with the Touch ID sensor. Contact an Apple Authorized Service Provider for further assistance and potential repair options.
- Backup and restore your device using iTunes: As a last resort, you can try backing up your device using iTunes and then restoring it to factory settings. This process may help resolve software-related issues affecting Touch ID.
Error 9: iPhone Error 9
Error 9 is a relatively common error that occurs during the restore or update process on an iPhone. It typically indicates a hardware-related issue, such as a faulty cable or port, or problems with the device’s memory.
To fix Error 9, you can try the following steps:
- Update iTunes to the latest version: Make sure you are using the latest version of iTunes on your computer. Older versions might not be compatible with the restore process.
- Check USB connection and cable for damage: Ensure that the USB cable and port you are using are in good condition and free from damage. Try using a different cable or USB port to rule out any cable-related issues.
- Put your device into DFU mode: Entering Device Firmware Update (DFU) mode can help resolve software-related issues during the restore process. Follow the specific steps for your device model to enter DFU mode.
- Disable or uninstall security software: Security software, such as firewalls or antivirus programs, can interfere with the restore process. Temporarily disable or uninstall any such software and try the restore process again.
Error 4013: iPhone Error 4013
Error 4013 is another common error that occurs during the iPhone restore or update process. It typically indicates a hardware-related issue, such as faulty cables, ports, or problems with the device’s memory.
To fix Error 4013, you can try the following steps:
- Update iTunes to the latest version: Ensure that you are using the latest version of iTunes on your computer to ensure compatibility with the restore process.
- Check USB connection and cable for damage: Verify that the USB cable and port you are using are in good condition and free from damage. Consider using a different cable or USB port to eliminate any potential cable-related issues.
- Put your device into DFU mode: Similar to Error 9, entering DFU mode can help resolve software-related issues during the restore process. Follow the specific steps for your device model to enter DFU mode.
- Disable or uninstall security software: As with Error 9, security software can interfere with the restore process. Temporarily disable or uninstall any security software on your computer.
By following these step-by-step solutions, you can troubleshoot and fix many of the common iOS error messages encountered on your iPhone or iPad. If the issue persists or if you encounter a different error message, it is advisable to consult the official Apple support documentation or reach out to Apple support directly for further assistance. Remember to regularly update your device and apps to minimize the occurrence of potential errors and ensure optimal performance.